FFmpeg quick reference: essential commands for video and audio
FFmpeg is a cross-platform, command-line multimedia framework for recording, converting, and streaming audio and video. Because it’s scriptable, it’s ideal for batch-processing large numbers of files without opening a GUI. You can find more about FFmpeg on the official website.
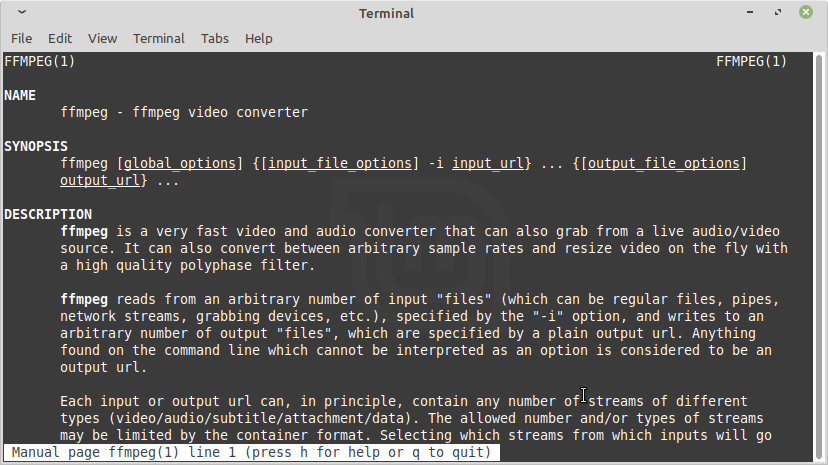
This post walks through the FFmpeg commands you’re most likely to need, with example input/output for each.
Converting video from one format to another
ffmpeg -i <input-file> -codec <output-codec> <output-file>
# or, to set the audio and video codecs independently
ffmpeg -i <input-file> -acodec <output-audio-codec> -vcodec <output-video-codec> <output-file>

# example: mkv to mp4, keeping the existing codecs
ffmpeg -i input.mkv -codec copy output.mp4
Use copy as the codec value to keep the input file’s existing codec instead of re-encoding — this is much faster since FFmpeg just repackages the stream. To re-encode instead, provide a target codec name. See the full list of supported codecs with:
ffmpeg -codecs
Clipping a video by start and end time
ffmpeg -i <input-file> -ss <start-time> -to <end-time> -c:v copy -c:a copy <output-file>

# example: keep only 00:01:30 to 00:02:45
ffmpeg -i input.mp4 -ss 00:01:30 -to 00:02:45 -c:v copy -c:a copy clip.mp4
This keeps the input’s audio and video codecs and just trims the file. Both times are given in HH:MM:SS (or seconds.milliseconds) format. See more ffmpeg clipping options on StackExchange.
If you’d rather trim visually instead of guessing timestamps, a GUI editor like Kdenlive or Shotcut can do the same job with a scrubbable timeline.
Extracting audio from a video
ffmpeg -i input.mp4 -vn -acodec copy output.aac

# or convert to mp3 while extracting
ffmpeg -i input.mp4 -vn -acodec libmp3lame output.mp3
-vn tells FFmpeg to drop the video stream entirely.
Compressing a video
ffmpeg -i input.mp4 -vcodec libx264 -crf 28 output.mp4
-crf (constant rate factor) controls the quality/size tradeoff — lower values mean better quality and larger files. 18 is close to visually lossless, 23 is the libx264 default, and 28+ trades noticeable quality for a much smaller file. Good range to experiment with: 18-28.
Resizing a video
ffmpeg -i input.mp4 -vf scale=1280:-1 output.mp4
Setting one dimension and -1 for the other keeps the original aspect ratio — here the output is scaled to 1280px wide.
Converting an image sequence to video, or a video to a GIF
# images to video (frame001.png, frame002.png, ...)
ffmpeg -framerate 24 -i frame%03d.png output.mp4

# video to GIF
ffmpeg -i input.mp4 -vf "fps=10,scale=480:-1" output.gif
Merging/concatenating multiple video files
Create a text file listing the files to join, one per line:
file 'part1.mp4'
file 'part2.mp4'
Then run:
ffmpeg -f concat -safe 0 -i list.txt -c copy output.mp4
This only works cleanly when all input files share the same codec and resolution; otherwise, re-encode first.
Checking a file’s format and stream details
ffprobe input.mp4
ffprobe ships alongside FFmpeg and prints the container format, codecs, resolution, duration, and bitrate without modifying the file — useful for figuring out what codec/scale flags to use above. Once you’re done, play the result back in VLC or mpv to confirm it looks and sounds right.
This list covers the FFmpeg tasks that come up most often, but it isn’t exhaustive. If you have another common use case that isn’t listed here, let us know in the comments and we’ll add it.