Download and Set Up Orca Slicer for Windows, macOS, and Linux
Orca Slicer is a free and open-source slicing tool created by SoftFever. It builds upon Bambu Studio and PrusaSlicer, offering a faster update cycle, flexible printer support, and reliable calibration features.
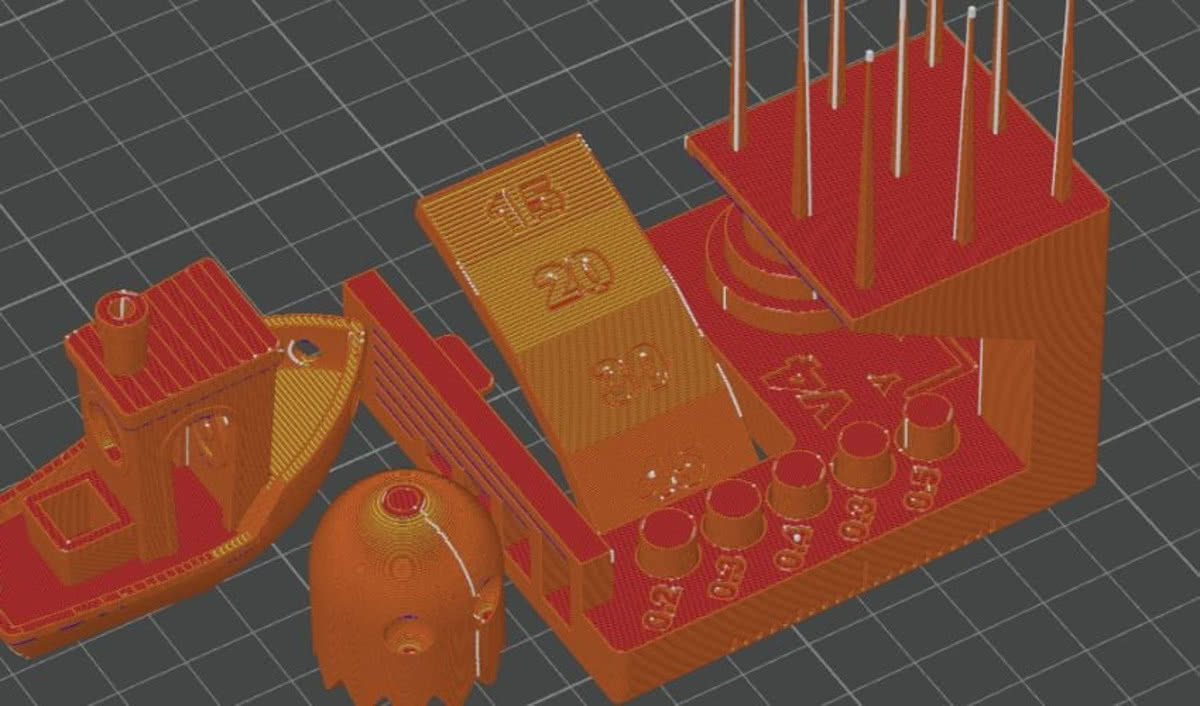
This guide focuses on how to download, install, and configure Orca Slicer for different operating systems — and how to make your first print succeed.
Why Use Orca Slicer?
- Cross-platform support: Works on Windows, macOS, and Linux with equal stability.
- Printer flexibility: Compatible with most FDM printers such as Creality, Prusa, Bambu Lab, Anycubic, and Voron.
- Open-source foundation: You can inspect, modify, and contribute to the codebase.
- User-friendly setup: Simple interface for beginners, powerful control for advanced users.
Step-by-Step: Install Orca Slicer
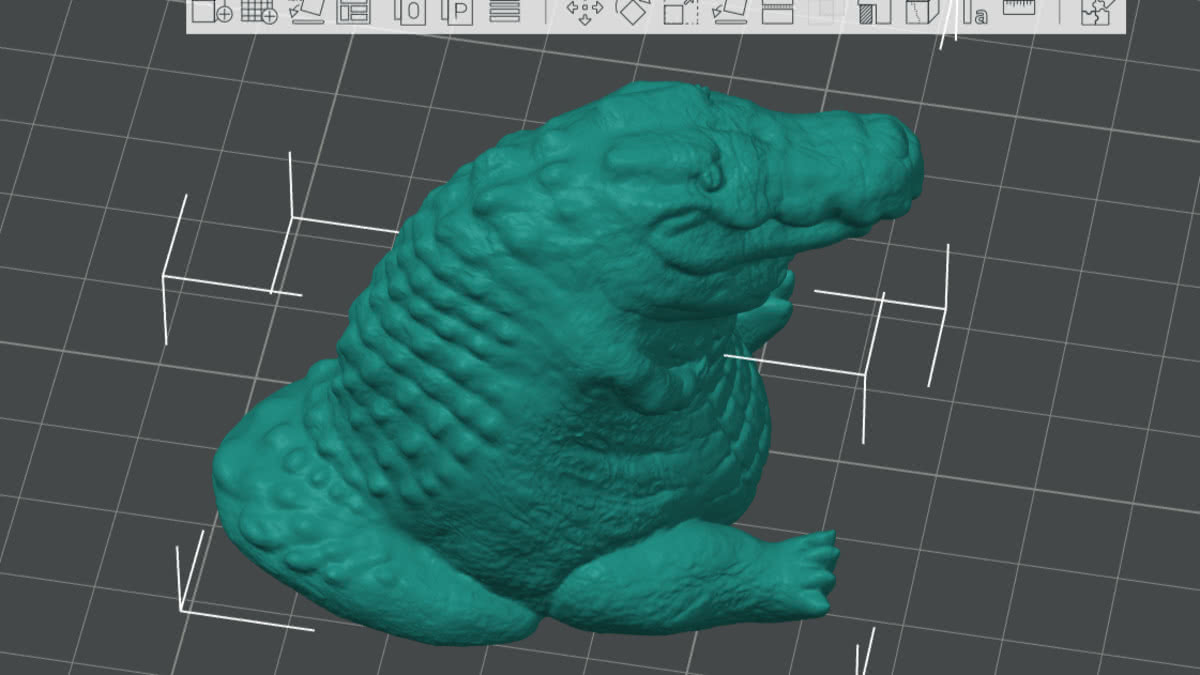
Step 1 — Download:
Get the latest stable version from the Orca Slicer GitHub page.
Step 2 — Install:
- Windows: Run the
.exeinstaller. Default settings work fine. - macOS: Drag the app into Applications.
- Linux: Make the
.AppImageexecutable (chmod +x OrcaSlicer*.AppImage) and launch it.
Step 3 — First Run Setup:
- Choose your printer profile or import one.
- Pick the correct filament type (PLA, PETG, ABS, TPU, etc.).
- Enable network features if your printer supports LAN or Wi-Fi control.
- Set a project directory for sliced files and profiles.
You’re now ready to start slicing and printing.
Key Features of Orca Slicer That Improve Workflow
- Adaptive Layer Height: Automatically adjusts detail on curves and thickness on flat areas to save print time.
- Seam Control and Wall Accuracy: Lets you hide layer seams and ensures dimensional precision for mechanical parts.
- Calibration Tools: Fine-tune extrusion, temperature, and retraction once per filament for reliable results.
- Smarter Supports: Choose between tree or traditional supports with paint-on placement.
- Remote Monitoring: Send prints via LAN/Wi-Fi and view live progress on supported printers.
These features make Orca Slicer suitable for both hobbyists and small-scale makers who want consistent output.
Your First Reliable Print
- Import your model — use STL, 3MF, or OBJ files.
- Orient the model — ensure flat surfaces face downward.
- Select a layer height:
- Draft: 0.24–0.28 mm
- Standard: 0.16–0.20 mm
- Detail: 0.08–0.12 mm
- Use balanced strength settings:
- Walls: 2–3 perimeters
- Infill: 15–25% (more for functional parts)
- Top/Bottom Layers: 4–6
- Preview before printing to check toolpaths and supports.
With this setup, you can expect strong, clean prints that require little post-processing.
Frequently Asked Questions (FAQ)
Q: Is Orca Slicer free to use?
Yes. Orca Slicer is completely free and open-source under the GNU General Public License (GPL).
Q: Can I use Orca Slicer with my Ender 3 or Prusa printer?
Yes. Orca supports most common FDM printers, including Ender, Prusa, Bambu Lab, Anycubic, and others.
Q: What’s the difference between Orca Slicer and PrusaSlicer?
Orca builds on PrusaSlicer but adds faster updates, new calibration tools, and better support for modern printers.
Final Thoughts
Orca Slicer gives makers a capable, transparent, and constantly improving toolchain for FDM 3D printing. It’s simple to start, yet deep enough for tuning every print parameter. If you value control and open-source freedom, it’s a great slicer to rely on.
For more details, visit the official Orca Slicer website or download the latest version from GitHub.
Comments
Comments are loaded when you choose to open them, which keeps the page faster and lighter.